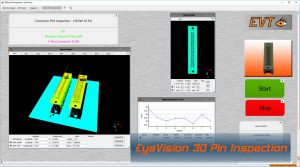


3D pin inspection
With the EyeVision 3D pins of every kind can be measured for their correct position and reeling circle.
Reeling circle and pin embedment depth
reeling circle or true point
The EyeVision 3D software can carry out a measurement of the so called true point. These are gauges to measure connector tolerances and staggering of the pins.
measurement of the embedment depth
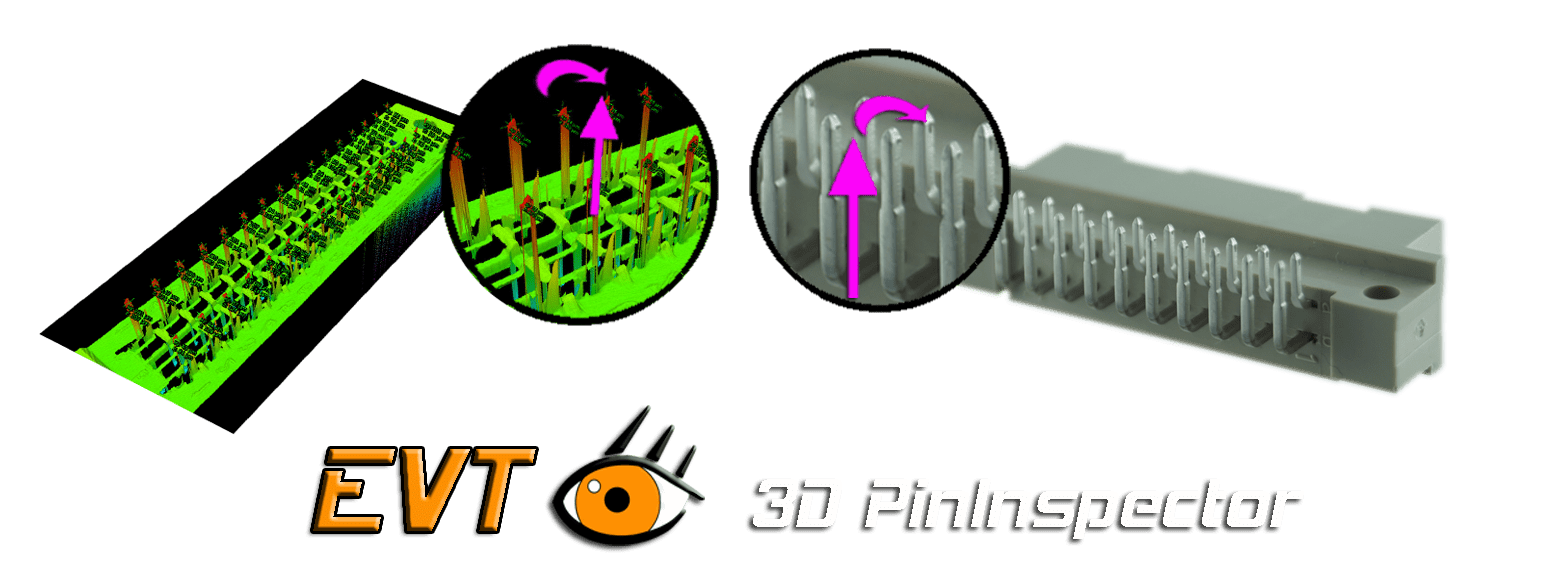
The software also can measure the embedment depth of the pins. Thanks to the 3D inspection it is possible to measure the height of the pin tips. Those are not only measured in theire x- and y-direction but also the z-direction.
flaws on the connector
Furthermore the system can detect flaws such as e.g. if the connector pins are bent, if the pins are stuck to deeply into the housing or if the pins stick out too far out of the housing.
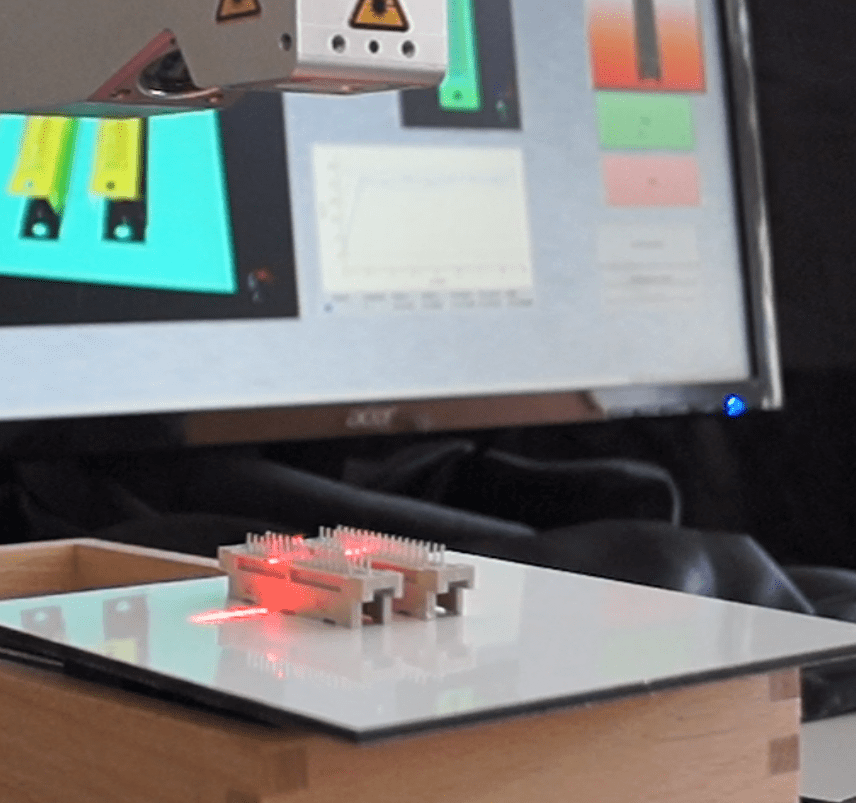
With the PinInspector 2.0 EVT has optimized a method for the inspection of connectors respectively the inspection of pins. The ready-to-use system contains:
- specially adapted EyeVision 3D Software with ready-made inspection program-kit
- laser triangulation sensor EyeScan AT 3D
- compact industrial PC
- linear axle (optionally)
With the PinInspector, the following characteristics of the scanned connector can be measured:
- true point or reeling circle
- pin height
- measurements of the pins
- flaws on the connector
EyeVision offers additionally:
- detailed statistics with all result values in the included SQL data bank or into the company data base.
- complete administration of all measured and inspected characteristics in a data base for production tracking
- integration of scanner systems for RFID or code reader (bar code, DMC, QR, OCR) for product tracing and mapping
Direct integartion of different PLCs:
- Profinet
- Modbus
- Ethercat
- etc
